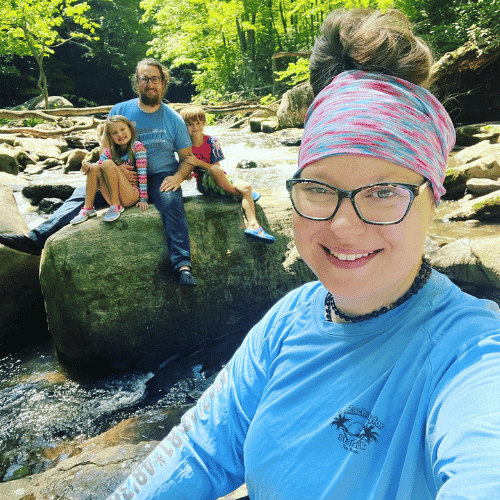
When Mitch and I were still in the planning stages of becoming full time travelers, my most pressing question was this: where does your poop go in an RV?
So when I saw lots of people asking that same thing, I knew I had to respond, even though the topic stinks (puns are fun). Here’s what you need to know:
When you use the bathroom in an RV, your waste goes into what’s called a black tank, where it’s stored and broken down until you visit a dump station. At the dump station, you’ll empty your black tank and do some quick cleaning to get rid of all that waste.
What an RV Black Tank Is
A black tank is basically just a container under the living space in your RV that’s exclusively for sewage. Anything you flush down the toilet will end up there.
Don’t confuse it with a gray tank, which also hangs out in the underbelly of your RV, but holds other types of waste liquids, like the water you use when you take a shower, wash your hands, or do the dishes.
RV Black Tank Parts
Your black tank is more than just a tank, though. It’s got lots of parts, like:
- Vent that transports gas and odors up and out of your RV
- Drain to empty the tank
- Flush port to spray water into the black tank to flush out the gunk
- Sensors to help you keep tabs on how full the black tank is
Let’s keep it real on the black tank sensors, though: the ones in our RV don’t work. And based on our research for this article, we’re not alone. Many people find their black tank sensors unreliable, so don’t count on them.
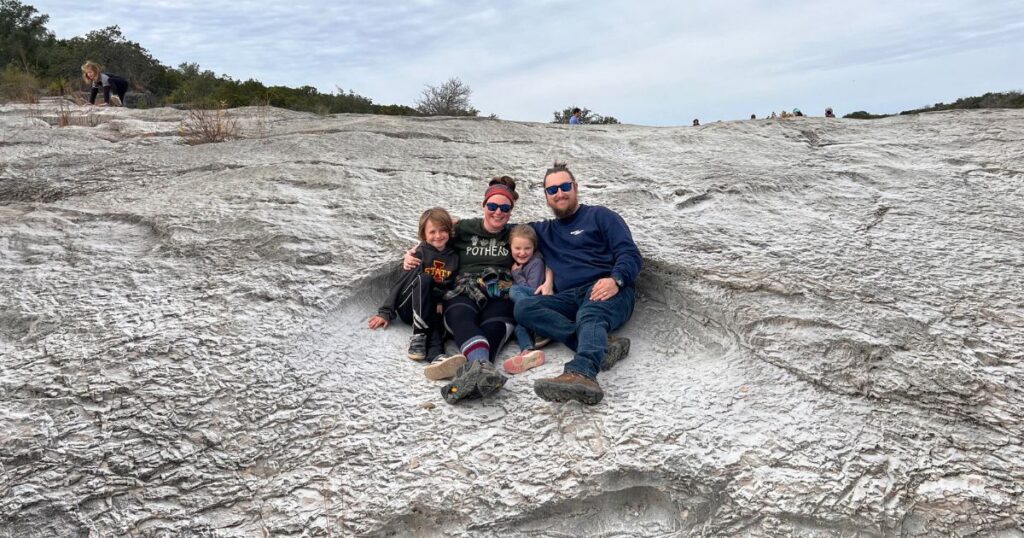
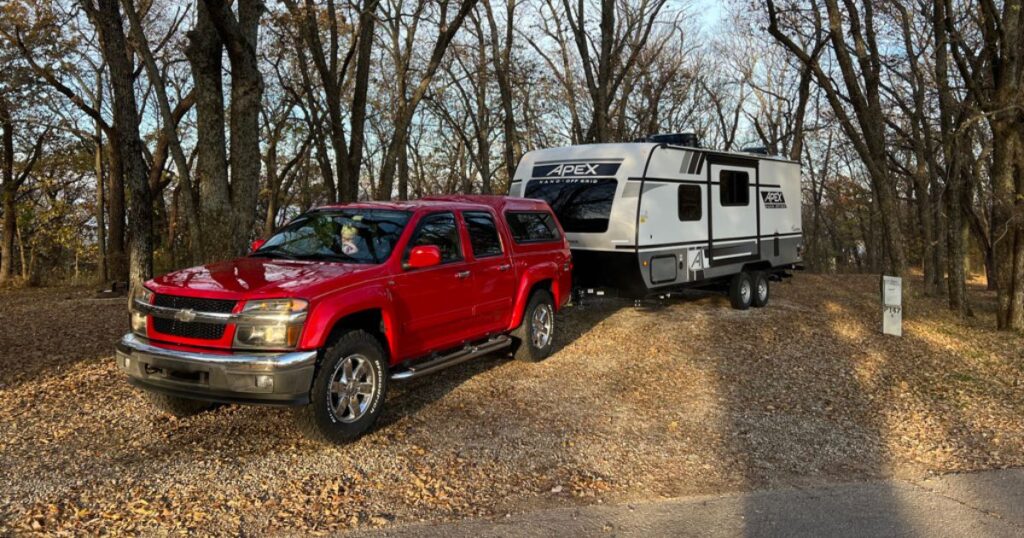
We don’t rely on the sensors now that we’ve been living in our RV full time for several months. We’re a family of 4 with a 35-gallon black tank and we need to dump about once a week.
Get the monthly newsletter.
Spam sucks. So don’t expect any from us! Once a month, we’ll send you personal stories and photos from our travels to inspire you to get wild.
The average black tank ranges in size from 15 to 50 gallons. And how quickly you fill it up depends on several factors, like:
- How many people are living in your RV
- How often you use the bathroom
- How much toilet paper you use
Other Things to Know about RV Black Tanks
When we first started out, I was so nervous that living with a tank full of my family’s poop underneath our bedroom was going to be a smelly nightmare.
But honestly, I forget it’s there most of the time. And I’m able to forget it’s there because we take some simple measures to maintain our black tank and keep it clean.
How to Keep Your RV Black Tank Clean
I could easily write an entire article about how to maintain a black tank. Maybe someday I will since it appears I enjoy writing about poop. But this is not that article.
If you want to dive deep into RV black tank cleaning and maintenance, I embedded a video below that’s very thorough and well-researched.
Otherwise, you can skip ahead to the basic things you need to know.
If you liked that video, make sure to subscribe to RV Tips & Travel for more!
Keep Water in Your Black Tank
It’s super important to keep a little bit of water in your black tank so you can avoid the dreaded “poop pyramid.”
(A poop pyramid is a disgusting mountain of poop and toilet paper that builds up right underneath your toilet line. Having water in the tank moves these solids around so they don’t all land in one place. So gross.)
We recommend filling 10% of your black tank’s capacity up with fresh water any time it’s empty. So for us, we add about 4 gallons of fresh water to our empty 35-gallon black tank. Here’s some common scenarios just in case you hate math:
- 15-gallon black tank capacity = 1.5 to 2 gallons of water
- 20-gallon black tank capacity = 2 gallons of water
- 30-gallon black tank capacity = 3 gallons of water
- 40-gallon black tank capacity = 4 gallons of water
- 50-gallon black tank capacity = 5 gallons of water
If you don’t know the capacity of your RV’s black tank, you can find it in your owner’s manual.
Add an RV Black Tank Treatment
You also need a black tank treatment. When I hear “treatment,” I think of something that you do for maintenance every few months or so.
But with a black tank, you need to add a treatment every single time you’re starting over with a fresh, empty tank. After you add fresh water to your tank, add a black tank treatment.
Black tank treatments help eliminate odors and break down solids so when it’s time to empty it, you’re less likely to experience clogs.
There’s lots of options for RV black tank treatments out there. We currently use Camco TST Toilet Treatment Drop-Ins because:
- They work well – no odors or clogs
- They’re easy to find on the road (Walmart usually carries them)
- They don’t contain bronopol, a toxic chemical
We’ve heard other people in the RV community say good things about the Happy Camper treatments. And we’ve been wanting to try out the Thank Tank treatments, too.
If you want to learn more, The Drive has an article that evaluates holding tank treatments in a lot more detail.
Use the Right Amount of the Right Kind of Toilet Paper
If you want to use a bunch of toilet paper, go to the bathhouse at the campground. Seriously y’all – use toilet paper sparingly in your RV. You’ll thank me later.
And it’s not just about how much toilet paper you’re using. It’s also about choosing the right toilet paper. You want a 2-ply, septic-safe toilet paper. You know, something like:
- Seventh Generation 2-Ply Recycled Paper
- Cottonelle Ultra Comfort Toilet Paper
- Whatever 2-ply septic-safe toilet paper is on sale (this is what we do)
You don’t need to purchase toilet paper that claims to be made specifically for RVs. Most of the time, those labels are just marketing ploys to charge more money for an inferior product. Any 2-ply septic-safe paper will do.
They also make portable bidets if you want to completely skip the toilet paper. I’d buy this one for the name alone: the Original HAPPYPO Butt Shower.
I haven’t been able to convince Mitch that a bidet is a good idea for our family (especially with our 2 young kids), but hopefully we’ll make the switch soon.
How to Find RV Dump Stations
Even if you maintain the cleanest black tank in the history of RVs, eventually you’re going to need to get rid of all that poop. It’s gotta go somewhere. And it goes to a dump station.
What’s a Dump Station?
And why does it have such a gross name? Just kidding. Seriously though – if you could give “dump stations” a new name, what would it be? Tell us in the comments!
Simply put, a dump station is a place where you empty the contents of you RV’s holding tanks. It has a sewer line to collect your waste and water spigots so you can do some cleaning.
You may be wondering: how do I actually find a dump station near me?
Full Hookup Campsites
Full hookup campsites have sewer drains (check the details listed on the campground’s website when making reservations) so you can keep your sewer hose connected during your entire stay.
These types of campsites also have water hookups, so you can do a thorough black tank flush and get everything nice and clean.
We don’t usually stay at full hookup campsites because they’re more expensive. And as full time travelers who aren’t super rich, we can’t afford to stay at full hookup campsites all the time (or even most of the time).
RV Dump Stations at Campgrounds
If you’re staying at a campsite that doesn’t have sewer hookups, the campground will most likely have a dump station on-site that you can use for free during your stay. This is what we do most of the time.
When you’re ready to dump, simply head over to the dump station, pray there’s not a long line, and go through the process described in the next section.
Other Ways to Find RV Dump Stations
If you’re camping off-grid or staying at a campground that doesn’t offer a dump station, you’ll need to find one nearby.
This isn’t actually as hard as you might expect. There are dump stations all over the country. And you can use many of them for free!
We primarily use two sources when locating dump stations. The first one, Campendium, is an app that we use to learn more about campgrounds before making reservations. It has a filter that allows you to search specifically for dump stations, even those that aren’t attached to campgrounds.
The other source we use (which is more comprehensive) is RVdumps.com. To give you a taste of what they do, I’ve embedded a map they created. It’s pretty impressive!
How to Use an RV Dump Station
Once you’ve found an RV dump station, it’s time to get rid of all that poop!
We love this quick, down-to-earth video from The Wandering Wyatts about the process of using an RV dump station. If you’re a visual learner, go ahead and hit play to get an idea of what dumping is really like.
How Often Do You Need to Dump?
We usually dump once a week because that’s how quickly our 35-gallon black tank reaches two-thirds or three-quarters of its capacity for our family of 4. Conveniently, we also typically travel to a new campground once a week, so dumping is our travel day chore.
Supplies You’ll Need
To successfully dump, you’ll need a few basic supplies, mainly a sewer hose, an elbow joint, and rubber gloves. We also use something called a “sewer host support” that lifts the sewer hose off the ground so gravity can help your black tank’s contents flow downward.
We find the sewer host support super helpful since gravity is the only thing getting that sewage out of your black tank. There’s no pumps (at least in most RV’s), so the more slope we can give to the sewer hose, the better.
We purchased a kit that included all of these supplies from our RV dealership.
You’re also going to want to store the equipment you use to dump in a sealed container so it doesn’t contaminate anything else in your RV.
We store the sewer hose in our RV bumper because:
- It’s hollow and the perfect size to store the sewer hose
- Nothing else fits inside the bumper, so the sewer hose is always isolated
We keep the rest of our dumping supplies in a sealed container in the undertow of our RV that we only open when it’s time to dump.
The Basic RV Dumping Process
I consider myself very lucky because dumping is a chore that Mitch handles for our family almost exclusively. Sometimes I stand outside with him (but not always, because it’s a smelly job!). But mostly, I’m not involved in the dumping experience.
Still, I can tell you that dumping is pretty simple. The entire process (including dumping both the black and gray tanks and doing a black tank flush) takes 15 minutes or so. Here’s the high-level steps:
- Find a dump station
- Put on rubber gloves
- Take out your equipment (hose and elbow)
- Connect the hose and elbow to the drain on your RV
- Test out the connections by draining a bit of the gray tank first
- Open the black tank valve and let the good times roll
Why do we test out the connections by draining a bit of the gray tank first? Because I’d rather have shower and sink water all over the ground than poop water. If there’s a leak, I want to find out when I’m draining the gray tank.
Important point: don’t completely drain your gray tank before dumping your black tank. You’ll want to save most of your gray tank water to flush out your sewer hose after dumping the black tank. A quick test with water from the gray tank is all you need.
Don’t Skip These Steps After Dumping
Once you’ve drained everything out of the black tank, you’re still not completely done. Like I mentioned earlier, you also need to drain the contents of your gray tank.
And then you’ll want to do a black tank flush to clear out any gunk that’s stuck in the tank. Check your owner’s manual for instructions on doing a black tank flush.
Lastly, add fresh water back into your black tank. (Remember what we talked about earlier: you should add water – 10% of your black tank’s capacity – every time you’re starting over with an empty black tank.) This is also the time to add your preferred black tank treatment.
And you’ve done it!
Summary
When you live in an RV, your poop goes to the same place all poop eventually goes. It just takes a different route to get there:
- First, it lands in your well-maintained black tank
- Then it moves on to a dump station
- After that, it’s no longer your problem
Stay wild!
Get the monthly newsletter.
Spam sucks. So don’t expect any from us! Once a month, we’ll send you personal stories and photos from our travels to inspire you to get wild.